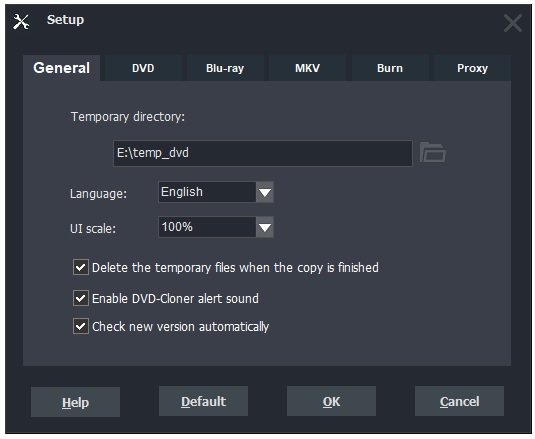
Temporary directory:
The temporary directory will be used when setting the copy mode. Please note that the temporary directory should be in the NTFS partition (In “My Computer”, right click on the disk drive and choose “Properties” to see whether the drive is in the NTFS partition.). The default is to use the disk drive with the largest free space.
Language:
Displays all installed languages for you to define the language to be displayed on the user interface.
UI scale:
Zoom in/Zoom out the operation interface. The maximum is 200%.
Delete the temporary files when the copy is finished:
If this item is chosen, the temporary file will be deleted automatically after the copy is completed. Please note that no warning prompt will appear during the deletion. The default is in the chosen state.
Enable DVD-Cloner alert sound:
If this item is chosen, an alert sound will be played when the copy is completed.
Check new version automatically:
If this item is chosen, DVD-Cloner will check upgrade automatically once a week. If there is a new version, the upgrade prompt window will pop up when you run DVD-Cloner.
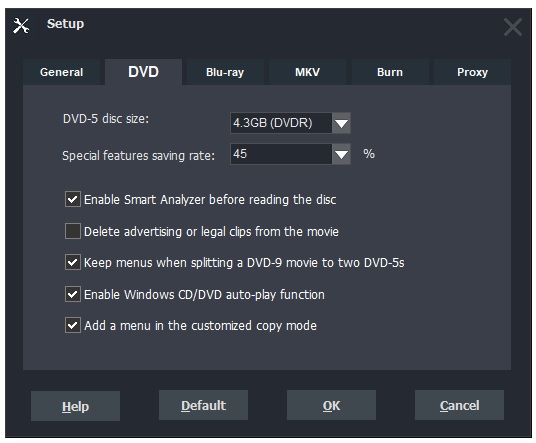
DVD-5 disc size:
Set the size of the target DVD-5 disc. Adjusting this value will affect the DVD compression rate. Please do not exceed the DVD±R/RW’s biggest capacity that you bought. The default is 4.3GB.
Special features saving rate:
When playing a DVD movie copied by “Movie complete copy”, if you found the picture of special features is coarse, you could increase the saving rate properly to get a better picture effect. But higher saving rate needs larger saving space, and finally makes the quality of the main movie reduced. The default is 45%.
Enable Smart Analyzer before reading the disc:
To crack the latest DVD encryption, DVD-Cloner needs to scan the disc before reading data to decide which data need to be read. The default is in the chosen state.
Delete advertising or legal clips from the movie:
Deletes the irrelevant advertisings and warnings on movies to save your valuable time when you watch a movie. This function will work with the “Enable Smart Analyzer before reading the disc” option.
Keep menus when splitting a DVD-9 movie to two DVD-5s:
If this option is selected, the menus and extras of the original movie will be copied to the first DVD±R. The default is in the chosen state.
Enable Windows CD/DVD auto-play function:
To decode some specially encrypted DVDs, DVD-Cloner has to close the automatic play function of the DVD drive. When it needs to close it, a prompt will appear. You can resume or close the automatic play function manually. Please note that this option will come into effect only after rebooting your computer.
Add a menu in the customized copy mode:
If this option is selected, a movie menu will be added to the copied DVD movie. The default is in the chosen state.
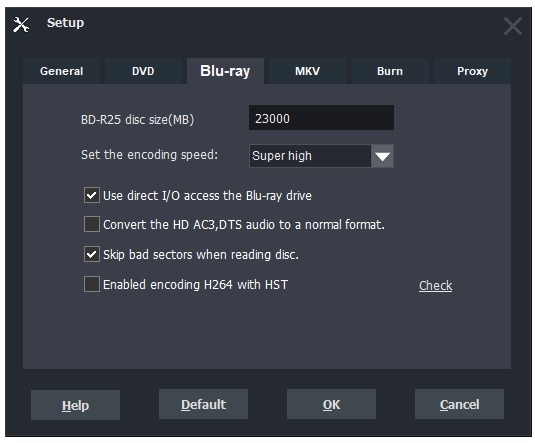
BD-25 disc size:
Define the size of your target BD-R/RE disc, which will be used when compressing a Blu-ray movie.
Set the encoding speed:
Adjust the speed of the encoding process. If you set it to “Super high”, it will read fast but occupy a lot of system resource. If you set it to “Low”, it will read slowly but occupy a relatively smaller system resource.
Use direct I/O to access the Blu-ray drive:
Enabling this option will increase the reading speed. However, please turn off this option when running third-party DVD cracking software in the background.
Convert the HD AC3, DTS audio to a normal format:
Select whether to convert the HD AC3, DTS audio to a normal format to save your valuable disc space.
Skip bad sectors when reading disc:
If this option is enabled, the damaged data will be skipped if any instead of popping up a prompt box saying “Reading failed”.
Enable encoding H.264 with HST:
Select to turn on HST?to encode at high speed. You can click on “Check” to learn about the checking result.
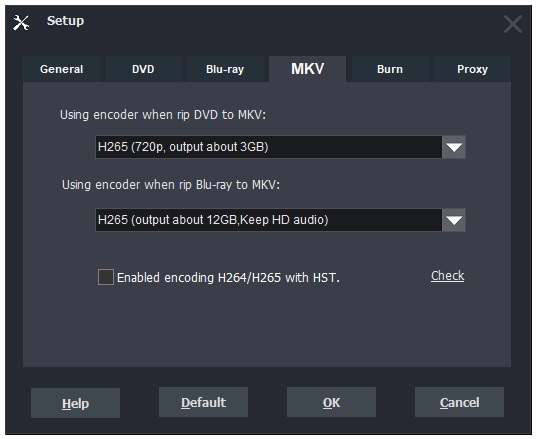
Use an encoder when ripping DVD to MKV:
Select a video encoding method when ripping DVD to MKV.
Use an encoder when ripping Blu-ray to MKV:
Select a video encoding method when ripping Blu-ray to MKV.
Enable encoding H.264/H.265 with HST:
Select to turn on HST?to encode at high speed. You can click on “Check” to learn about the checking result.
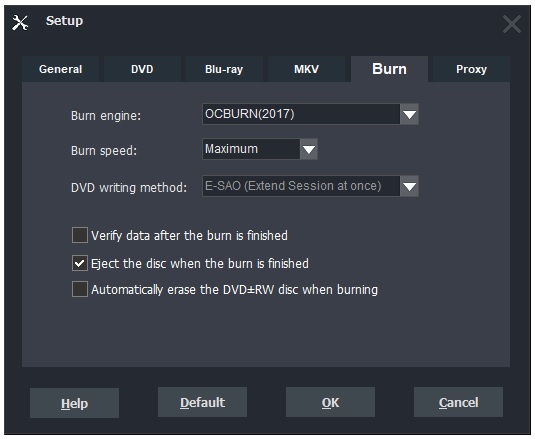
Burn engine: OCBURN and HRBURN are available.
OCBURN: It is a new burn engine that burns DVD with better compatibility, which is recommended to use.
HRBURN: It is an old burn engine that can be used as a backup option when the new burn engine doesn’t work well.
Burn speed:
Set the burn speed. Please note that the burn speed should match the DVD±R/RW you use. The default is Maximum - to use the highest speed compatible with the disc.
DVD writing method: E-DAO and E-SAO are available. This option is available when you choose the HCBURN burn engine, which can be adjusted when the HCBURN burn engine does not work.
Verify data after the burn is finished:
If some problems occur during the burn process, please check “Verify data after the burn is finished”. Then DVD-Cloner will verify the data to ensure the burn quality after the burn is completed.
Eject the disc when the burn is finished:
If this item is chosen, the DVD disc will eject automatically when the burn is finished.
Automatically erase the DVD±RW disc when burning:
If this item is chosen, DVD-Cloner will erase the DVD±RW disc automatically when burning. Please enable this option carefully as this may cause loss of data.
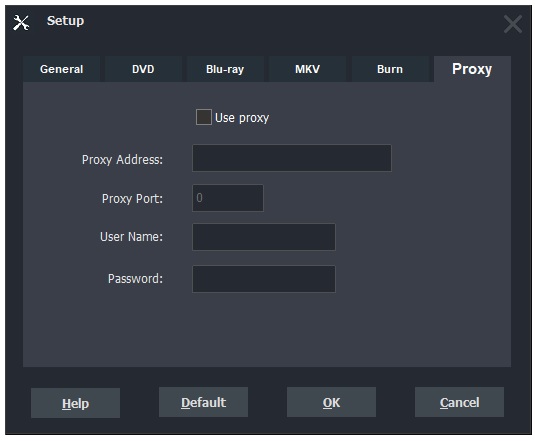
Enable to use network proxy. Internet access is needed when you copy a Blu-ray movie or register DVD-Cloner. If the current PC has no problem accessing the internet, you do not need to set it. Otherwise, contact your network administrator to set it.
Proxy Address:
Set the proxy address.
Proxy Port:
Set the proxy port of your network.
User Name:
Fill in the user name.
Password:
Fill in the password.