Audio and Subtitle
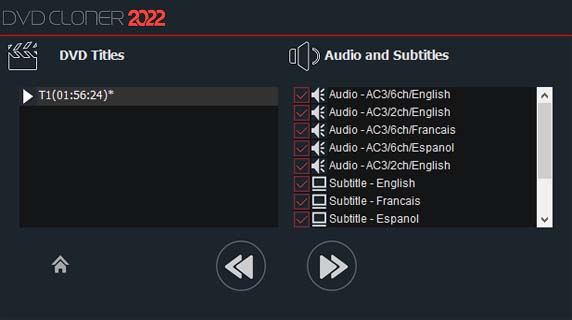
You can select your desired audio track(s) and subtitle(s) in this window. (The default is to select all. Please note that the audio track and subtitle doesn’t occupy a lot of disc space. To make a perfect DVD, it is suggested that you select all.)
Movie Titles & Chapters
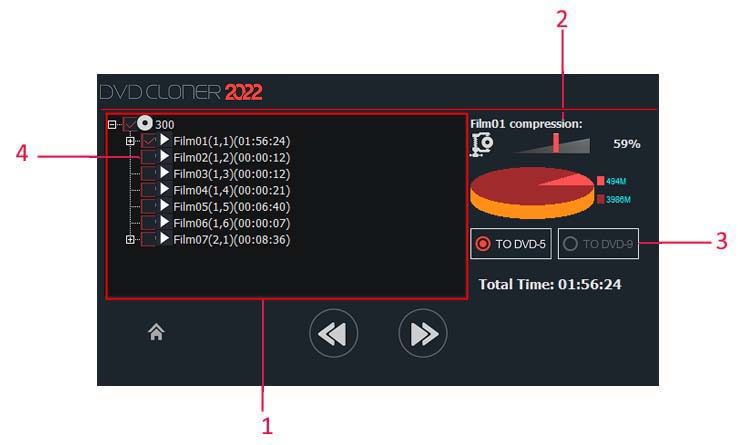
Select the title(s) and chapter(s) you’d like to burn.
Define the compression rate and you can save your valuable disc space. (The bigger the figure is, the better the quality will be.)
Select the target DVD, either a DVD-5 or DVD-9.
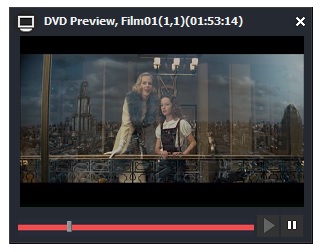
You can preview the movie file by double clicking on it or directly clicking on the “Play” button, and then you’ll get the window like this:
Select the title(s) you’d like to back up. The titles are listed as FilmX (a,b) (cc:dd:ee). X means the number of the film; a means the title number of the source DVD; b means the PGC number of the source DVD; cc means the length of the film by hour; dd means the length of the film by minute; ee means the length of the film by second; Open the FilmX project. If there are chapters, they will be displayed as Chapter f (dd:ee). f means the chapter number. (If not all the titles of the source DVD are listed, please disable the option “Enable Smart Analyzer before reading the disc” in the “Setup” window and try again.)